| |
|
|
|
|
|
|
| |
|
Tutorial : making the Lotus Elise Mk1 - part 2 |
||||||
|
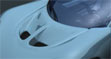
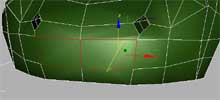
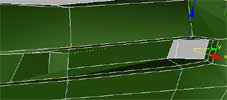
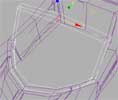
The
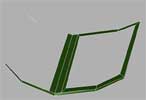
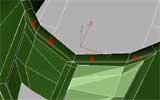
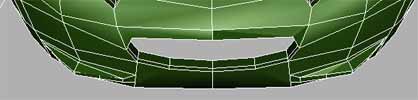
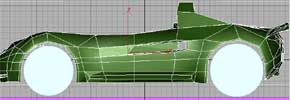
front air hole As you see in the images below I sliced the front and made sure after mesh smooth the front where the windshield come later, was funded. Then I hidden the rest of the car to have more liberty working with the front. Basically I deleted the central faces and extruded the edges several times.
|
||||||
|
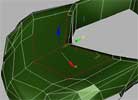
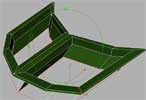
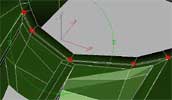
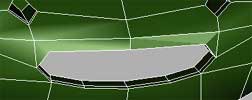
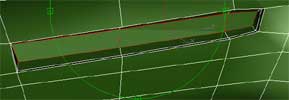
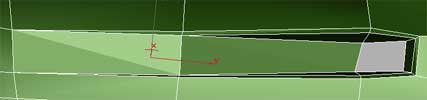
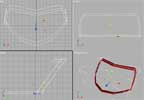
This
is how it looked after the extrusions: Next I lifted the edges in the upper part (the ones with red). After the edges were perfectly aligned with the faces (where the windshield will go) I welded the vertices (in the third images).
|
||||||
|
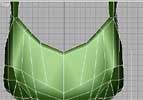
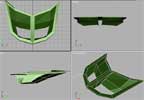
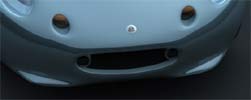
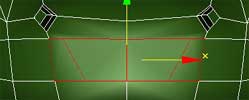
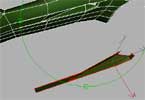
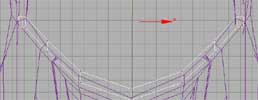
The
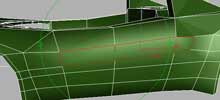
lower part of the car (in front): the air hole : I sliced all the faces horizontally and then I selected the middle face and I sliced them vertically:
Then I deleted those faces and extruded the edges inside, twice:
below you can see how I created the little bumpers:
|
||||||
|
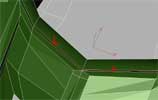
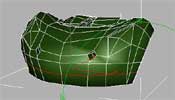
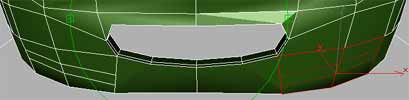
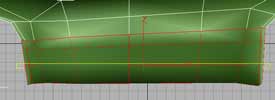
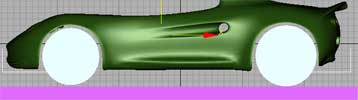
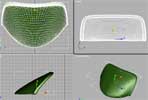
The
side airhole: I only worked with one side of the car, then after I completed the airhole, I copied and mirror those faces and them I welded to the other side of the car.
I extruded inside the faces, twice:
|
||||||
|
After this part looks good I copped the faces and mirror them.
Now the work with this mesh is almost over, I wanted to be sure that the wheels will fit good in their holes:
|
||||||
|
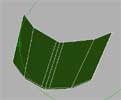
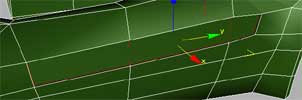
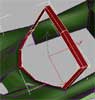
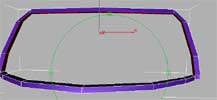
Next, the windshield: I created a box and then modified it with edit mesh as in the pictures bellow:
After that I extruded the faces near the end, several times:
|
||||||
|
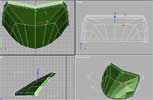
Next :
After I applied mesh smooth :
|
||||||
|
|